Home → Flat Roofing
EPDM / TPO repair: flat roof leak repair, membrane patches, seam re-welding, and ponding solutions. Columbus, OH.
Most EPDM leaks are due to pinholes in the field. These leaks show up for several reasons. Sometimes tradesmen get rough moving equipment and materials around, causing damage that eventually shows up as a leak. Sometimes debris like sheet metal flies around in the wind, nicking the EPDM surface and causing a leak. We think many holes are caused by minuscule damage that doesn't leak for years, but as UV and weather draw the oils from the EPDM, the EPDM shrinks, turning tiny tears into leaks.
The full process: tools, materials, and every step. Nothing hidden.
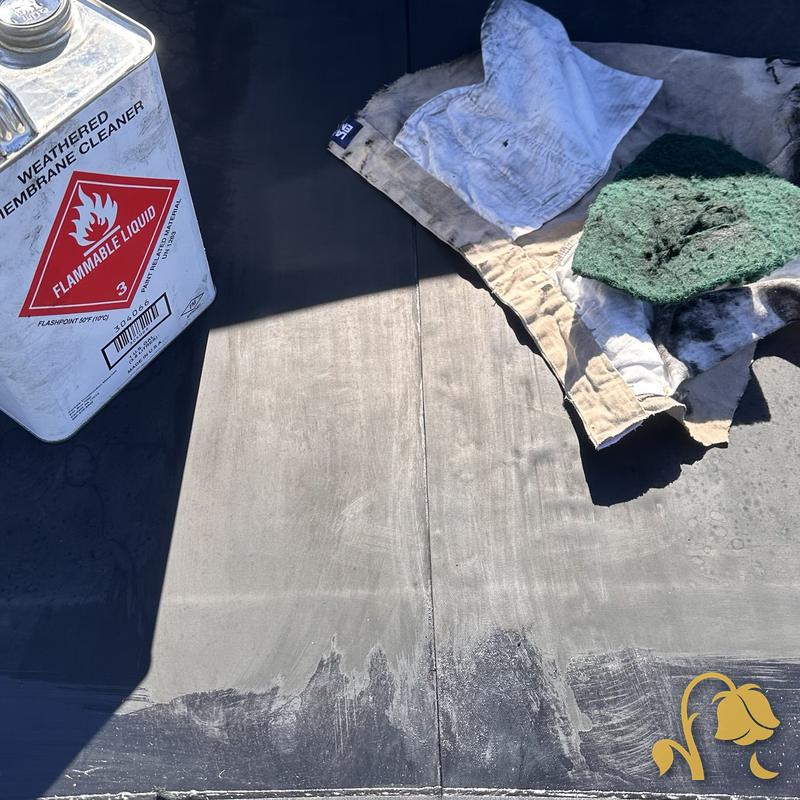
Scissors (shears), 2" neoprene hand roller, 3–4" chip brush, cotton rags, green scrub pad, 5 gallon bucket (to carry tools / materials / trash).
6" flashing tape, weathered membrane cleaner, EPDM primer, lap caulk.
The first step is to clean around the area with weathered membrane cleaner and rags. If the EPDM is extremely weathered you can use green scrub pads in addition. You want the EPDM to be essentially new in how clean it is, so several passes and a clean rag at the end can be appropriate. Note that weathered membrane cleaner is an industrial strength solvent, so you need to wear blue PVC gloves when using the cleaner. We also strongly prefer cotton rags (cut up t-shirts or painter's rags) to the cut up sweatshirts. They hold the cleaner better and clean the EPDM surface better.
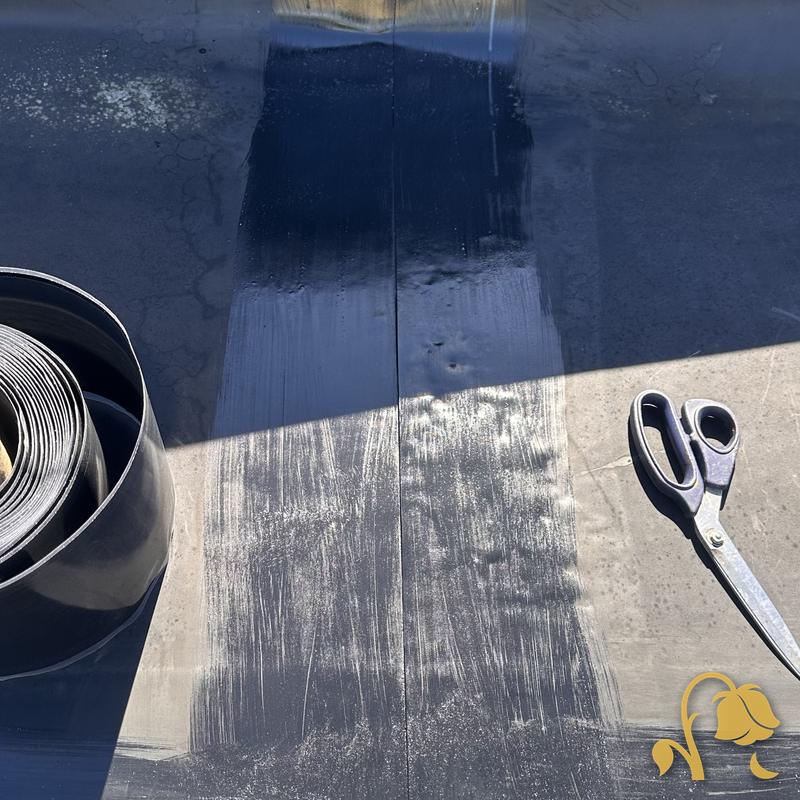
In flat (low-slope) roofing we like to "show our work", so to apply a 6"x6" piece of flashing tape feel free to clean an 8"+ square with the leaker at the center.
Apply the EPDM primer with the chip brush. Again for a 6" patch a 7"–8" square of primer is appropriate. You know your brush is too dry if you get spider webs with the primer. Allow the primer to "flash-off" or dry. You'll know it's dry when you touch it with your fingertip and no material comes up, but it's tacky. Wait too long and it won't be tacky anymore, and you have to prime it again. If it's too wet you'll get bubbling under your flashing tape.
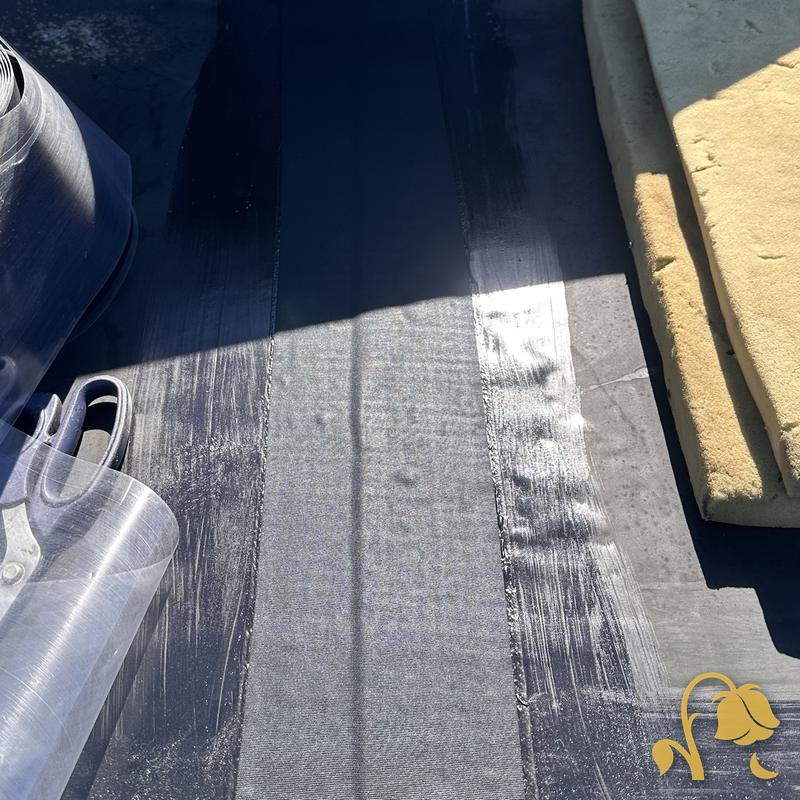
Apply a small dab of lap caulk right on the leaker once the primer is flashed-off. Then apply your 6" x 6" piece of flashing tape (cut 1" corners or round the corners so they don't lift long term). Don't handle the sticky side of the flashing tape. The oils on your finger will ruin the chemistry and it won't be watertight. Kind of handle it with the backing and gently apply it (if there's a slope to the roof put the factory edge on the high-side).
DO NOT smooth it out with your hand. This will cause bubbling. Instead roll it in with the neoprene hand roller, starting either at the edge or at the middle and work your way out. We're showing our work again here. Make sure that you roll past the factory edge so you can see roller marks in the primer, and kind of half roll what you've already rolled so you don't miss any spots.
At this point get your lap caulk out and apply a reasonable bead along the non-factory (cut) edges, maybe a 1/2" bead give or take. It will settle out in the sun, don't smooth it.
Put your trash (cut corners, tape backer, used rags) in your bucket and head down. Also make sure you don't drop your scissors or you might have another hole to fix.
Most EPDM repairs run $250–$500 depending on how many leaks and how accessible the roof is. Buying all the tools and materials new will probably meet or exceed the cost of the repair. Flashing tape in particular is really expensive. And if you feel like you can't afford it, call us anyway. Let's figure it out.
When your flat roof needs a full tear-off (widespread membrane failure, saturated insulation, chronic ponding), we do full EPDM and TPO replacements: membrane options, insulation, and drainage sorted out properly for Columbus weather.
Every replacement starts with an inspection and an honest answer about whether you actually need one.
Same-day response. We'll tell you exactly what's going on.
Same-day response. We'll tell you exactly what's going on.
Call (614) 369-0112